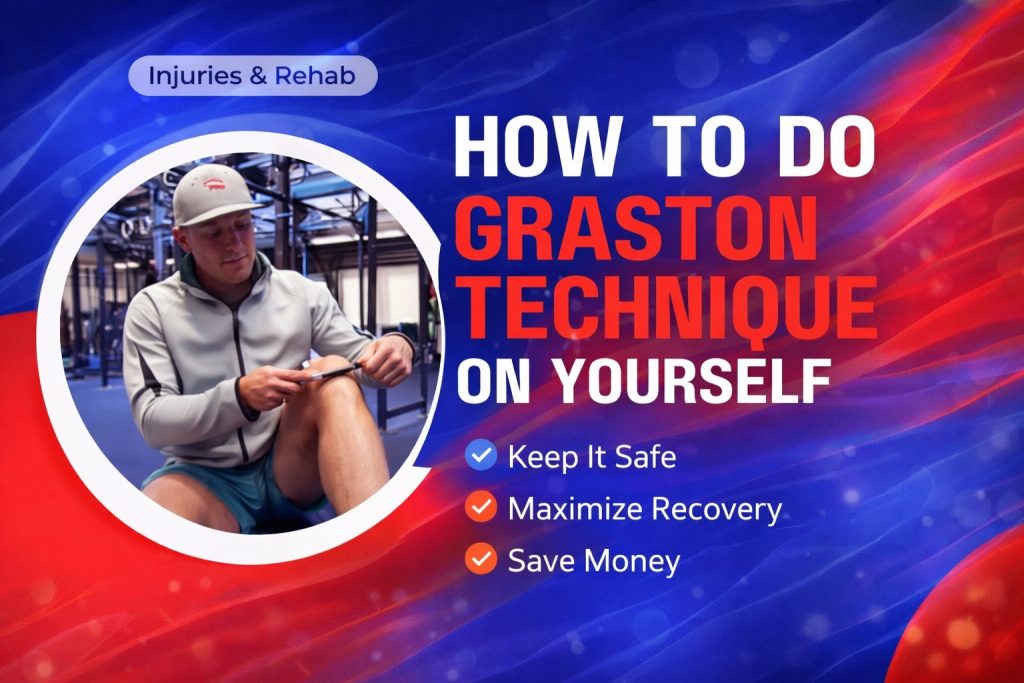
The Graston Technique has quickly become one of the most popular recovery trends in the health world.
The technique was developed in the 1990s by David Graston, an amateur athlete and chiropractor. After suffering a knee injury, Graston experimented with different healing methods and eventually created specialized stainless steel instruments to help with his own recovery. This led to the development of the Graston Technique, which works by using these tools to detect and treat soft tissue restrictions, adhesions, and scar tissue, improving blood flow, reducing pain, and restoring mobility.
Many health professionals like physical therapists and chiropractors have seen the benefits that muscle scraping offers and adopted it into their practice.
The beauty about muscle scraping is that you don’t necessarily need to see a professional for it (although it’s advised) — and you don’t need to spend the thousands of dollars on courses or tools to reap the rewards of muscle scraping.
In this article, we’ll dive into how to do instrument assisted soft tissue mobilization, similar to the Graston Technique, on yourself, and discuss things to watch out for so that you can feel confident and safe.
Let’s begin!
Is It Safe To Do The Graston Technique On Yourself?
While the Graston Technique is a fairly safe form of therapy, there’s good reason why the official training course is only offered to eligible healthcare professionals. The Graston Technique should only be performed by a trained professional for optimal safety and results.
For a full Graston Technique certification, you’re looking at slightly less than 30 hours of training where you’ll learn the intricacies of the technique, how to manipulate the instruments properly, and how to stack the manual therapy with additional exercises for optimal results.
This technique has been developed over multiple decades and it’s simply impossible to master it via an article on the internet.
So keep in mind that the remainder of this article will be a very brief introduction to some of the basic muscle scraping techniques used by Graston practitioners, and is not reflective of the full methodology.
Although it is safe to do this on yourself, for best results I’d still recommend seeing a professional who will know how to properly manipulate their instruments to deliver the best results. While you don’t need to spend thousands on tools, some people may be tempted to use household items like a butter knife, but these are not substitutes for the specialized instruments used by professionals.
Common Conditions Treated With The Graston Technique
The Graston Technique is widely recognized by healthcare professionals for its ability to treat a broad range of soft tissue injuries and chronic conditions. Physical therapists often turn to this technique when dealing with stubborn issues like plantar fasciitis, tendonitis, and the buildup of scar tissue that can limit mobility and cause persistent pain. Using specialized stainless steel tools, practitioners are able to break up adhesions in the connective tissue, increase blood flow, and promote healing in the affected area.
This approach is especially effective for conditions marked by inflammation and reduced blood flow, such as chronic neck pain, back pain, and knee pain. By targeting scar tissue and encouraging the body’s natural healing process, the Graston Technique can help reduce pain, improve range of motion, and restore function to areas impacted by injury or overuse. Whether you’re dealing with a recent injury or long-standing chronic pain, the Graston Technique offers a versatile treatment option that can be tailored to your specific needs.
How To Do The Graston Technique On Yourself
The Graston Technique is not dissimilar to IASTM, Astym, or Gua Sha in terms of performing it, although a qualified Graston practitioner will know their craft far better than most.
For clarity, we’ll be discussing very basic muscle scraping techniques below, not official the official Graston Technique, which is much more advanced. Before attempting any self-treatment, consider your medical history and consult a professional if you have concerns about your health or suitability for this technique.
The key is to begin slow and listen to your body when it tells you that you’re pushing too hard or staying at one spot for too long. Improper technique can lead to potential injury or worsen overuse injuries, so caution is essential. If you experience muscle pain during self-treatment, monitor it closely and do not ignore persistent or worsening symptoms.
1. Finding The Right Tool
There are so many muscle scraping tools out there that you can choose from.
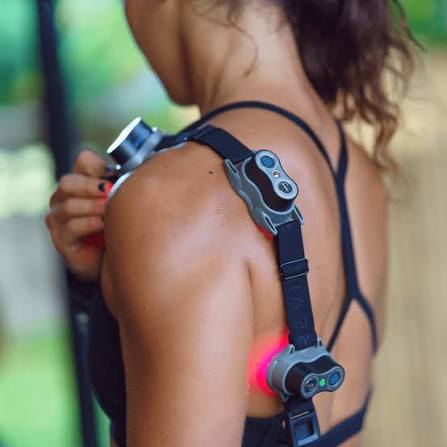
However, the Graston Technique famously uses stainless steel instruments of all shapes and sizes.

This variety of tools lets you hit anything from your small hand muscles to your big leg muscles, allowing for a more focused approach depending on your target area.
That being said, if you want to get the official Graston Technique tools, be ready to shell out close to $2,500!
This price is massively inflated because you’re paying for the ‘official’ name brand, despite much more affordable tools being able to do a very similar job.
While this might be a worthwhile investment for a physiotherapist practicing in a clinic, it’s not very practical for the average at-home user…
Find Budget Friendly Graston Technique Tools
Luckily, there are some really affordable yet still highly effective alternatives out there.
I recommend the Sidekick tools as they’re significantly more affordable than the Graston tools and are designed to be used by athletes at-home.
Feel free to check out my full review of the Sidekick tools!
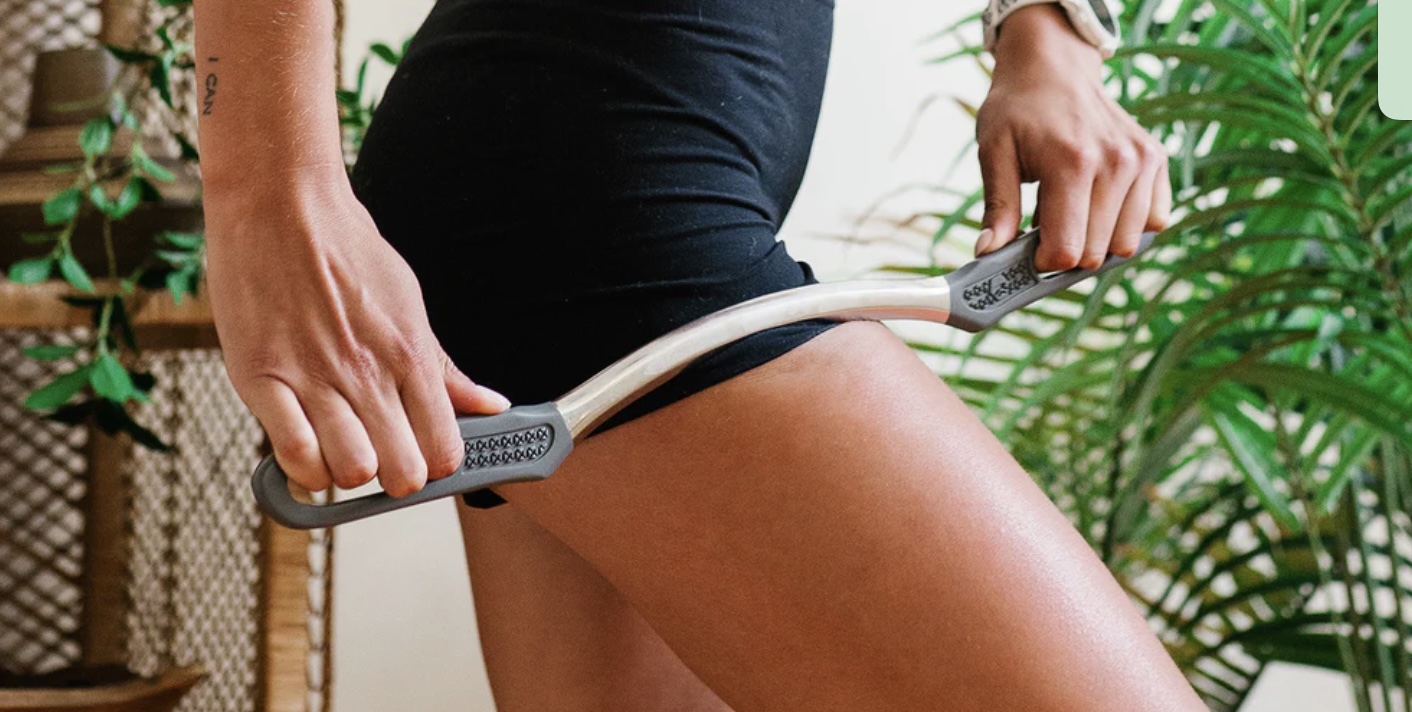
I’d recommend using the Sidekick Bow when working on your legs and hip muscles.

The shape and size is perfect for hitting the lower body, especially when you’re sore after a run or a tough leg day.
The Sidekick Bow Tool is the best option for legs thanks to its longer, curved design that covers more surface area with each pass. It’s ideal for quads, hamstrings, calves, and IT bands, making it easier to break up tight tissue and speed up recovery in less time.
🔥 Get an instant 10% off when you purchase through A1 Athlete.
If I want to scrape smaller muscles like my plantar fascia or forearms, I’ll use a tool like the Sidekick Curve, Swerve, or Echo.

It’s perfect for helping me loosen up, allowing me to be more mobile in the gym and also recover better after an intense arm day.
You can also get yourself a set of STICKON stainless steel IASTM tools that’ll also do a half decent job!
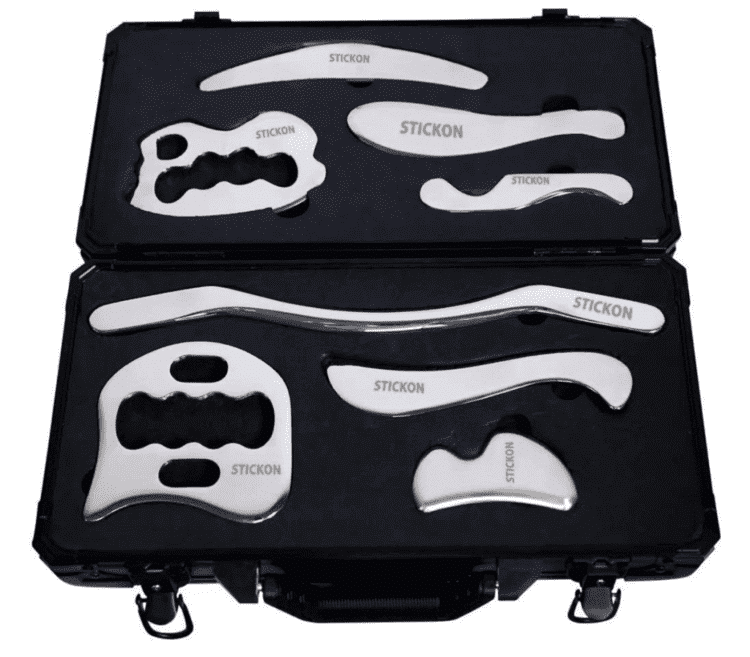
These tools are significantly more affordable and provide virtually the same stimulus as the official Graston instruments, so they’re a far more accessible option for muscle scraping at home.
2. Inspect The Target Area
Once you got your tool ready, check out the area you want to scrape.
Before proceeding, consider whether muscle pain is interfering with your daily activities. If your pain is limiting your daily activities, it’s best to seek professional advice.
You want to make sure there’re no open wounds, and clean the spot you want to hit.
Going over the target area with your hand will help you feel if there are any knots are tight muscles as well — if you feel a knot or a crumbly/crunchy type sensation, that probably means it’s a good spot to try and loosen up!
3. Apply Emollient
You need to have some sort of lubricant over top of the target area you want to do the Graston Technique on.
This is because, as you may imagine, scraping a hard tool over top of dry skin might not be the most comfortable and can cause scrapes, so applying a bit of lotion over top of the muscle is important.
I recommend the official Graston emollient, but there’s plenty of different options you can choose from that’ll all do a decent job.

Don’t slather a thick layer on yourself either — just enough for your tool to glide smoothly will do the trick!
4. Begin Scraping
Let the fun begin!
Start with some light, slow strokes to get the blood rushing into the muscle and get the site “warmed-up” for about 10-15 strokes, all in one direction.
Once the muscle is warmed up, gradually increase the pressure on the tool to hit the muscles deeper.
Stay on one spot for about 10-20 seconds, still scraping in one direction for each stroke.
Move on to the next spot for the next 10-20 seconds — you can always come back to a spot later on.
At this point, you want to apply a consistent, moderate pressure on your tool — it shouldn’t be painful, some discomfort is expected, but listen to your body when it wants you to ease off on the force you’re putting down. If you experience pain during the process, especially if too much pressure is applied, stop and reduce the force to avoid injury.
Generally, you want to try to go the length of the muscle evenly, but for larger muscles like the quads you may have to break that up into sections — this is fine, consistency is the main goal!
Wait about 2-3 days in between scraping a specific muscle, or at least until the redness goes away.
This is to make sure that you’re not overdoing it and actually hurting yourself — your body needs time to recover and do it’s job to heal the inflamed spots, so give it a bit of rest.
5. Reap The Benefits
How quickly you feel relief from muscle scraping depends on a couple of things, including:
- Intensity — If you’re pushing super hard and working through your muscle more intensely, it can take longer for the bruising to go away and for you to feel more relaxed.
- Time — How long you spend scraping, along with how often you scrape a muscle during the week can change the time it takes to recover from a session.
- Experience — Initially, you may feel a bit sore for longer after a scraping session, but after having done it a couple of times your body will get used to it and feel relief quicker.
Generally, it takes about 1-7 days for someone to feel relief with the Graston Technique — again, this depends on several things.
Be patient and stay consistent, and you’ll be sure to reap the benefits in no time! Effective use of the Graston Technique can help you return to your normal daily activities and improve your overall quality of life.
Things To Watch For When Doing The Graston Technique On Yourself
There are a couple of normal “side effects” of the Graston Technique that you can expect:
- Redness — The Graston Technique aims to rush blood into your target tissue, which will usually cause a bit of redness on the skin.
- Bruising — Since this is similar to a deep tissue massage, you might experience some bruising on your skin. Some people bruise easier than others, so you might not have any!
- Soreness — As I mentioned, the Graston Technique can be a bit uncomfortable and cause a bit of muscle soreness, but this should disappear shortly after a session.
Now, there are a couple of things you want to watch out for as well, just to make sure that you’re not actually going backwards in your recovery process:
- Lasting Pain — Since soreness is expected to go away shortly after a session, having pain that lasts or worsens over a couple of days is a good sign that you’re going too hard, either with time spent scraping or how hard you’re pushing.
- Bleeding — A bit of blood through some light scrapes is nothing to worry about, but if you’re causing big wounds or cuts check how much lotion you’re using and how hard you’re pressing the tool.
- Increased Tension — The Graston Technique is supposed to loosen up your muscles, not tighten them. If your muscles are tensing up more, check how frequently and how intensely you’re going at muscle scraping.
Home Care After Self-Graston
Taking care of your body after a self-Graston session is essential for maximizing the benefits of the technique and supporting your recovery. To keep the healing process on track, consider using a foam roller to further break up adhesions and boost blood flow in the affected area. Incorporating gentle stretching and mobility exercises can help reduce muscle tightness and improve your overall range of motion.
It’s important to give your body time to rest and avoid overexerting the treated area. Applying ice or heat can help reduce inflammation and soothe any lingering discomfort. Maintaining a healthy lifestyle—like eating a balanced diet and staying active—will also support your body’s ability to heal. By following these home care tips, you’ll help promote healing, reduce pain, and achieve optimal results from your Graston Technique sessions.
Recovery Time: What To Expect
Recovery time after using the Graston Technique can vary from person to person, depending on the severity of the soft tissue injury and the specific condition being treated. Some patients notice reduced pain and improved range of motion almost immediately, while others may need several sessions to experience significant relief. On average, most people see noticeable improvement within 2-6 Graston sessions, though chronic pain or more complex injuries may require a longer treatment plan.
Working with a certified practitioner who has proper training in the Graston Technique is essential for developing a personalized approach that addresses your unique needs. With consistent treatment and a commitment to your recovery plan, the Graston Technique can be a game changer for managing chronic pain and restoring mobility. Remember, patience and persistence are key—stick with your sessions and home care routine to achieve lasting relief and improved function.
Alternative Therapies To The Graston Technique
While the Graston Technique is a powerful tool for treating soft tissue injuries, there are several alternative therapies that can complement or substitute for it, depending on your needs. Chiropractic care, physical therapy, and massage therapy are all effective ways to address pain, promote healing, and improve mobility. For those looking to manage inflammation and discomfort, anti-inflammatory medications and pain relief creams can provide additional support.
Self-massage tools like foam rollers are also popular for breaking up adhesions and increasing blood flow, especially for amateur athletes or those managing minor aches. However, it’s important to note that these alternatives may not offer the same targeted benefits as the Graston Technique, which uses specialized stainless steel tools to treat specific areas of the body. Consulting with a healthcare professional can help you develop a comprehensive treatment plan that incorporates the Graston Technique and other therapies to achieve the best possible results for your condition.
Conclusion
There are definitely effective and safe ways to do the Graston Technique on yourself, saving you from a pricy trip to a health professional.
Being able to pick from a wide variety of affordable tools and use them whenever and wherever you need can be game-changer for your recovery, and something worthy to look into for anyone.
Make sure to listen to your body, not pushing to the point of pain, and enjoy the benefits of the Graston Technique!